Following on from Dark Ages-I, I managed to get far more done in the last two weeks even with work pressure and COVID restrictions than I thought I would be able to, and while I still need to finalise the design and do the flags for both forces, they are all ready to be fight over the outcome of rolled dice.
Also while scrapping the bases clean of the 80’s flock, a number of the figures clearly had Essex inscribed on the bottom, so it stands to reason that they are probably all (or mostly) Essex Miniatures, and knowing the person who gifted them to me nearly two decades ago they were probably purchased from The Tin Soldier, when it existed in the Dymocks Building (Sydney, Australia) during the 80’s, sadly the store has gone the way of many bricks and mortar stores, and has been closed for at least the last 10 years.
Two Viking/Saxon warbands, and a small Norman or Saxon Huscarl force, all grouped for Ravenfeast.
Now onto some 28mm terrain, a Dark Ages hut (or two), some low stone walls, and maybe some church/abbey ruins.
In general I get my bases from Litko and use the 1.6mm plywood bases and the heavy duty magnetic base bottoms.* Also of note is that while my rectangular bases are purchased in inches, my circular bases seem to be a mix of inches and mm. Not sure what happened there, but the difference between 1 inch and 25mm is negligible. I also 3D print my bases when I need unusual sizes or I am basing 25mm skirmish type figures or those that come from Games Workshop. The main reason for the printing of the bases is to give me a solid foot to stick on the heavy duty magnetic base bottom, a problem I foresee when I get around to doing this with my Napoleonic armies, which are based (as purchased) on some strange plastic bases that may require some surgery. (or worse a rebase)
I use PVA glue throughout the basing process, probably because I have rebased some of the figures multiple times in their lives and though I do hope to never again using PVA does facilitate this if the need arises. I also often buy painted miniatures through Hinds in the UK, or off eBay, and if others have done the same it makes the process of integrating these preloved figures into my own collection all the easier.
Basing is all about waiting, each step in the process is either punctuated by a long or a short wait. So having something to distract you during this time is vital to maintaining progress. The only thing that really changes is the colours I use and that depends on the period, or maybe the theatre, if a periods conflicts happened across a wide area.
Basing steps (left to right) 1. PVA glue to base, long wait. 2. PVA brown sand, long wait. 3. Base colour applied to cover sand and base edges, long wait 4. Army Painter Anti-Shine Matt Varnish (if needed), long wait. 5. Any colour updates for figures if needed (eg. hats and pants for the Union), short wait. 6. Dry-brush Highlight colour, short wait. 7. PVA randomly applied, sprinkle on flock, long wait. 8. (not pictured) Attach magnetic base, no wait.
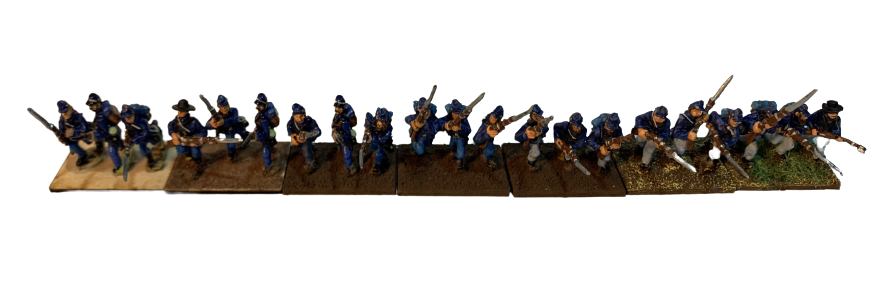
ACW: Base: raw umber over brown art sand. Highlight: dry-brush naples yellow. Gun Bar standard flock mix.
Napoleonic’s & Ancient Greeks: Base: yellow ochre over plain sand. Highlight: dry-brush white. Woodlands Scenics light green anti-static grass. (for Peninsular forces)
Dwarves: Base: matt black over art sand. Highlight: dry-brush citadel ulthuan grey. Tajima gold grass tufts.
I do wonder about standardising these colours, since while I do feel the basing should in someway represent the theatre, I don’t really intend to have a Peninsular British force and a 100 days British force just to have “theatre appropriate” bases. Likewise my planned Australians for Malaya could also double for the Fall of Crete, but the base colour would be different. I wonder how others have handled this? Is it just ignored? Maybe bases could be tailored in someway using small movement trays, which might work for WWII and skirmish level games, but probably not for the more Rank and File style periods.
Also I have to give Mark a shoutout, as it was a comment from him that kind of inspired this post as a “how to” record the way I did something, in case I ever return to add to a project. Obviously I am hoping this method is a little better than the scraps of paper I had been utilising.
* this is kinda a new addition to me, I never had to move my armies anywhere in the past so never needed a way to secure them while in transit, so while I am not sure if I needed it, I opted for “heavy duty” as an added level of security.